
Firewall rules apply to the whole server, across all ports and all sites. To block visitors from a single site only, use IP Blocking in that site’s settings instead.
Blocking an IP
You’ll see a list of IP addresses currently blocked at the firewall. You can remove existing blocks at any time.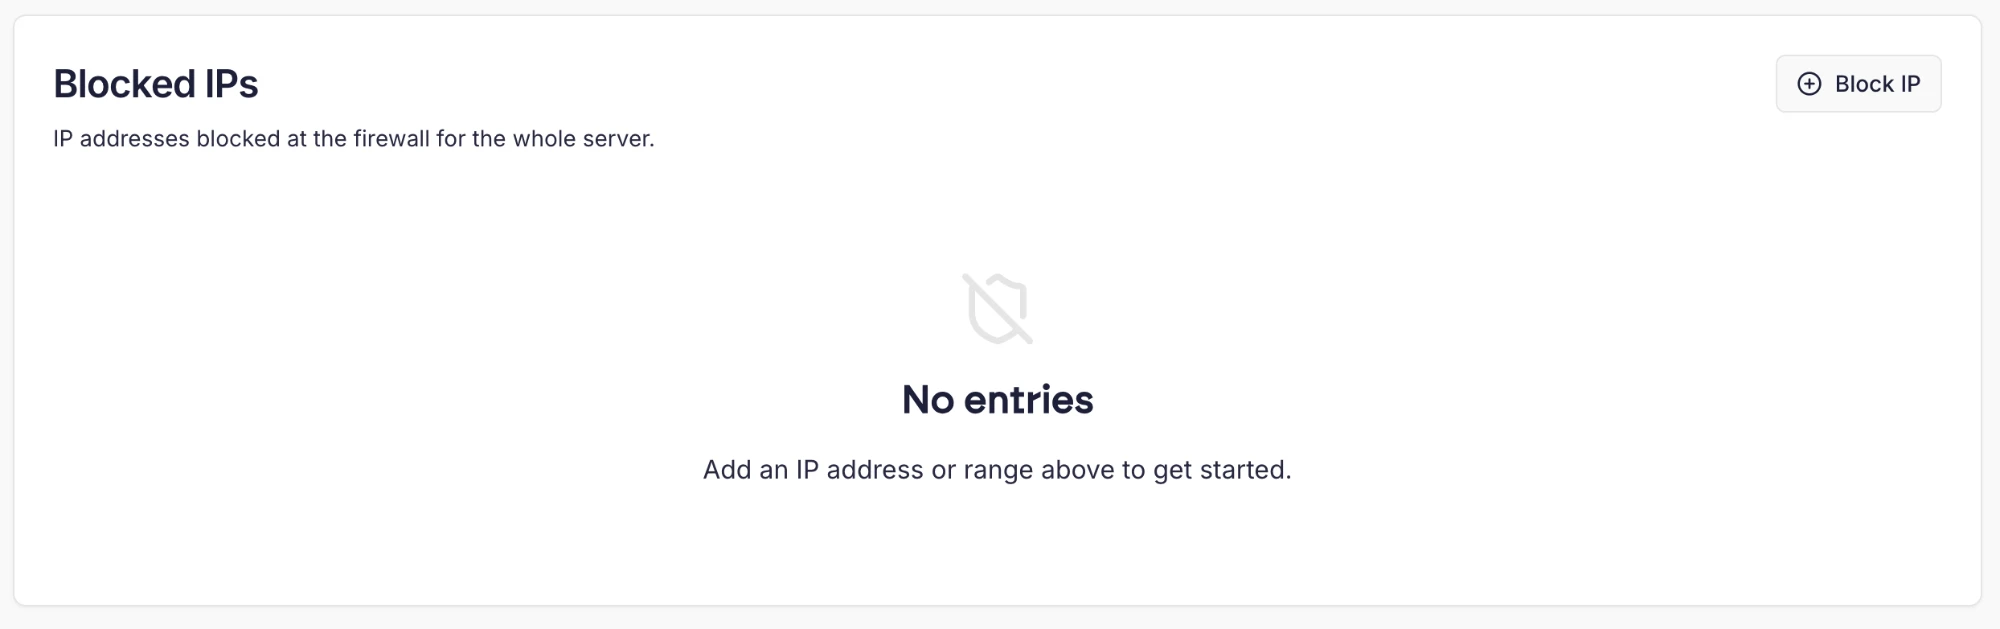 Click the ‘Block IP’ button and enter the address you want to block, along with an optional comment. You can enter a single IPv4 or IPv6 address, or a range in CIDR notation.
Blocked IPs are dropped at the firewall entirely, so they cannot reach any service on the server.
Allowing an IP
Allowed IPs work the other way around: an allowed IP is whitelisted at the firewall and will never be blocked. This is useful for your office or home IP, monitoring services, or anything else that should always be able to reach the server. Click the ‘Add Allowed IP’ button and enter the address, along with an optional comment. As with blocks, single addresses and CIDR ranges are both accepted.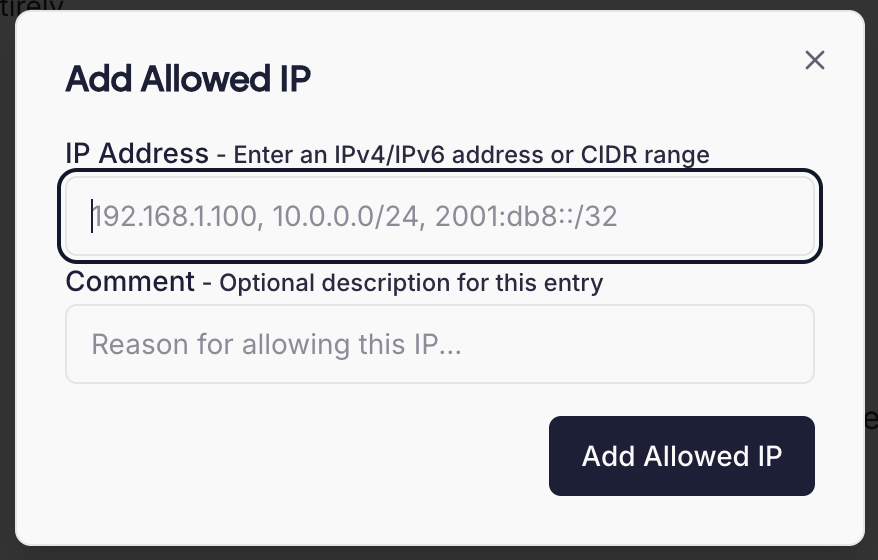
Restricting SSH by IP
You can lock down SSH so that only trusted IP addresses can connect. When enabled, port 22 (SSH) is closed at the firewall and only the IPs on the allowed list below the toggle can connect.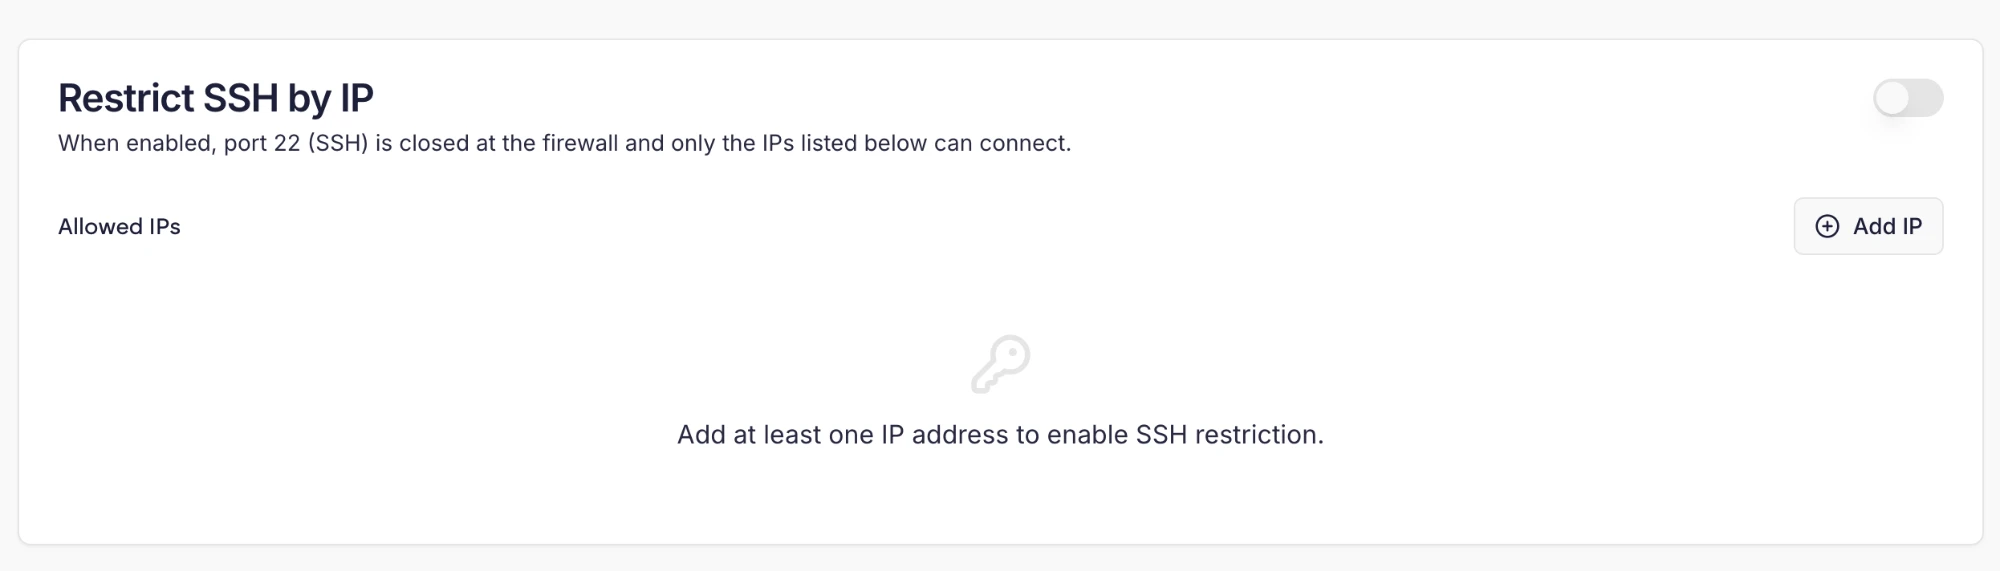 Click ‘Add IP’ to build the list of allowed addresses- you’ll need at least one before the restriction can be enabled. Once you’re happy with the list, switch the toggle on.
If your sites sit behind Cloudflare or a similar proxy, visitors connect to the server from the proxy’s IPs rather than their own. Firewall blocks won’t match those visitors- use per-site IP Blocking, which detects the real visitor IP.